Add Pione Chain to Metamask
Effortlessly Integrate Pione Chain with MetaMask using the guide below
Mainnet
| Parameters | Values |
|---|---|
| Currency | PIO |
| Chain ID | 5090 |
| RPC endpoint | https://rpc.pionescan.com (opens in a new tab) |
| Block Explorer | https://pionescan.com/ (opens in a new tab) |
How to Add Pione Chain to MetaMask: A Step-by-Step Guide
Download Metamask Extension (opens in a new tab)
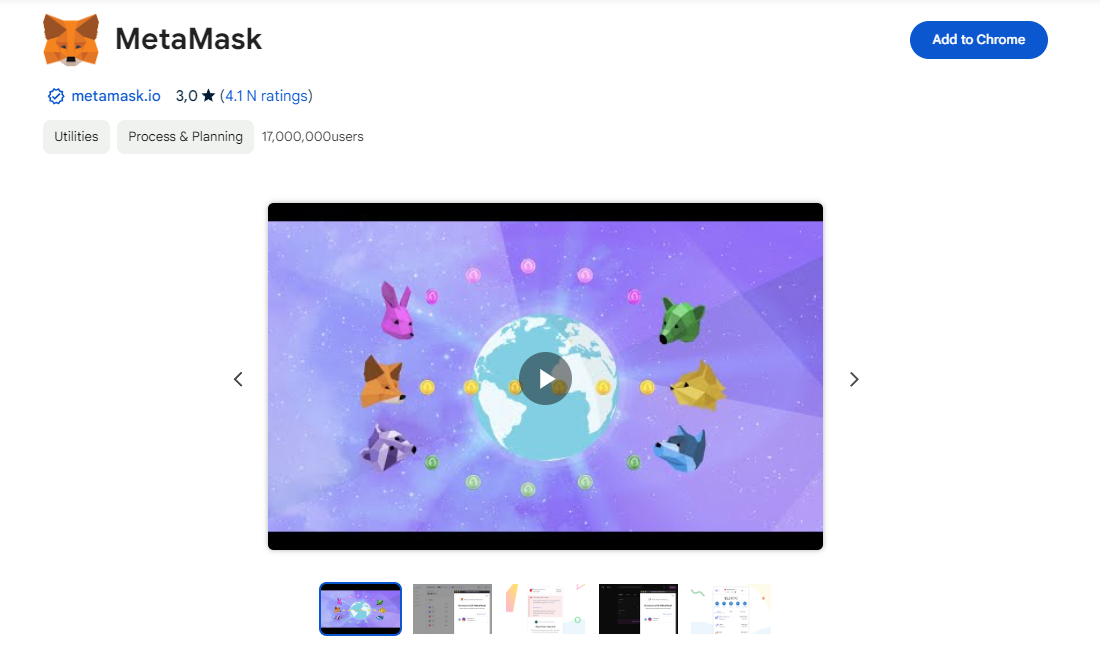 To embark on your crypto journey, it's essential to set up a decentralized wallet that you solely manage. MetaMask stands out as one of the most popular choices. To install MetaMask, head to the official website and choose your preferred browser, such as Chrome or Firefox. / Download the MetaMask extension.
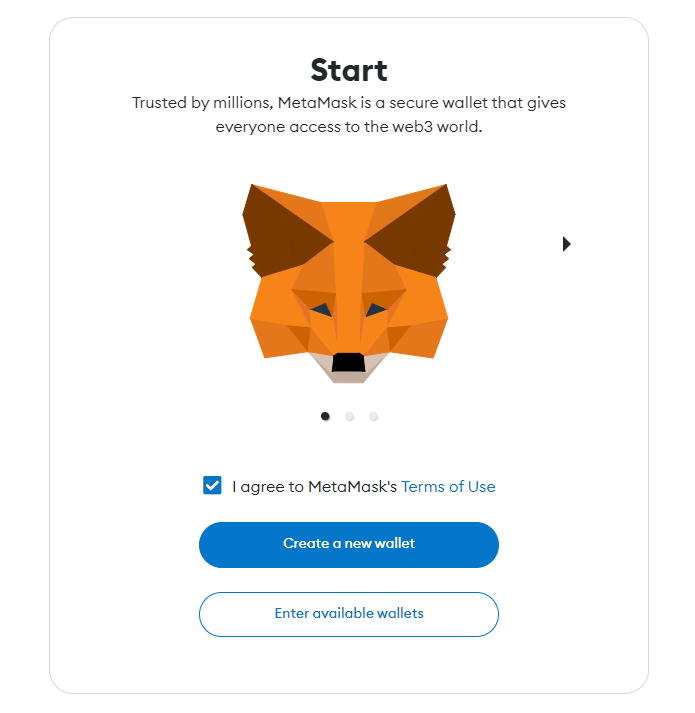 Once installed, click on the "Create a new wallet" button to create your MetaMask wallet. Your wallet's public key is a unique identifier on the blockchain and is generated randomly.
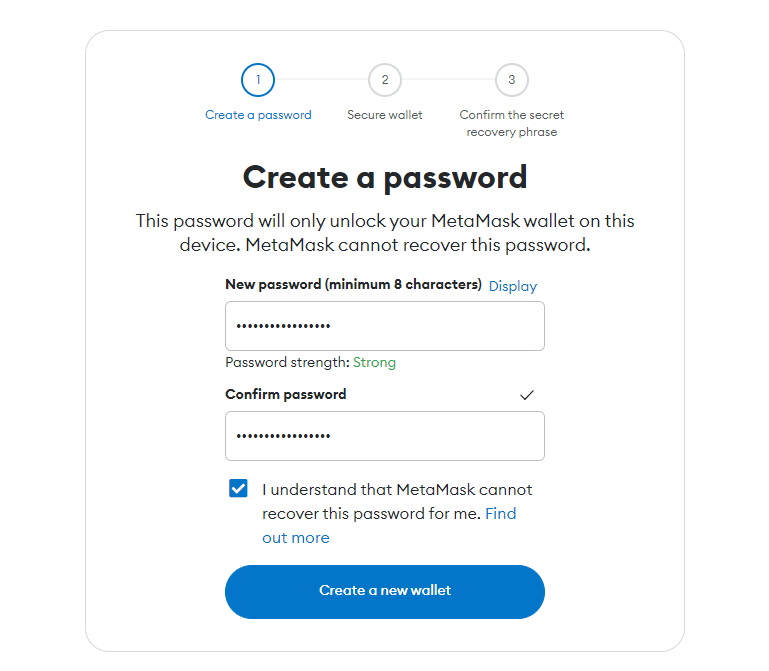 MetaMask will prompt you to set a password for your wallet. It is essential to choose a strong password that cannot be easily guessed.
 It is crucial to write down your 12-word recovery phrase on a piece of paper and keep it safe. Please do not store it on your PC as it may be vulnerable to cyber-attacks. This recovery phrase is necessary, without this you could lose access to your wallet.
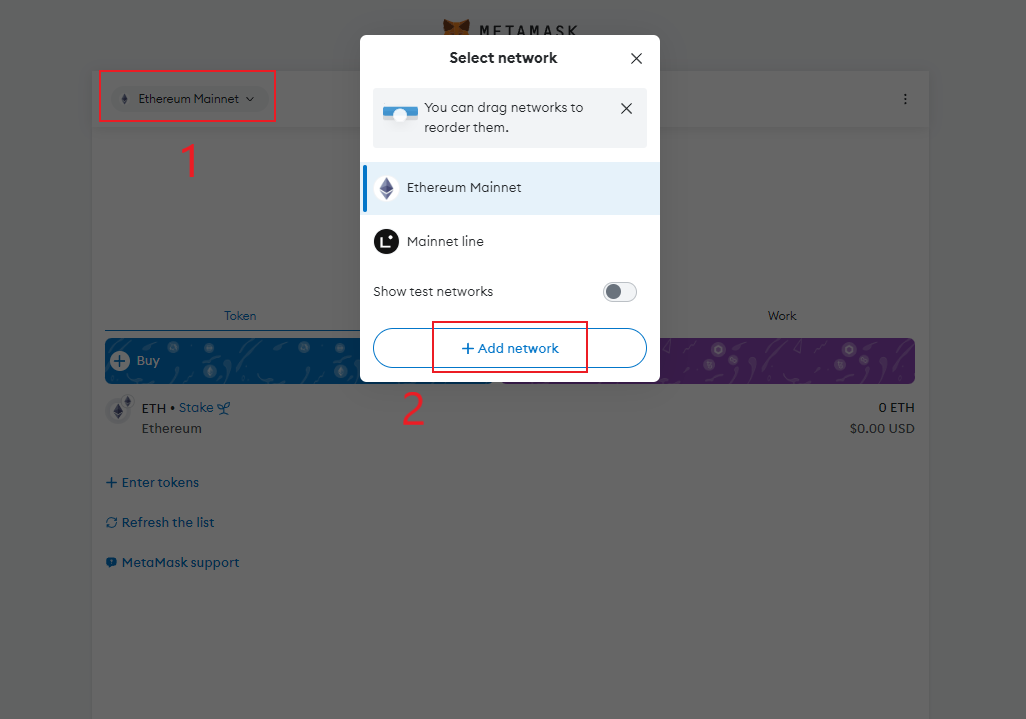 By default, MetaMask is set to transact with the Ethereum network, to add PIONE Network Open MetaMask Extension, Access Settings then click on Click "Add Network."
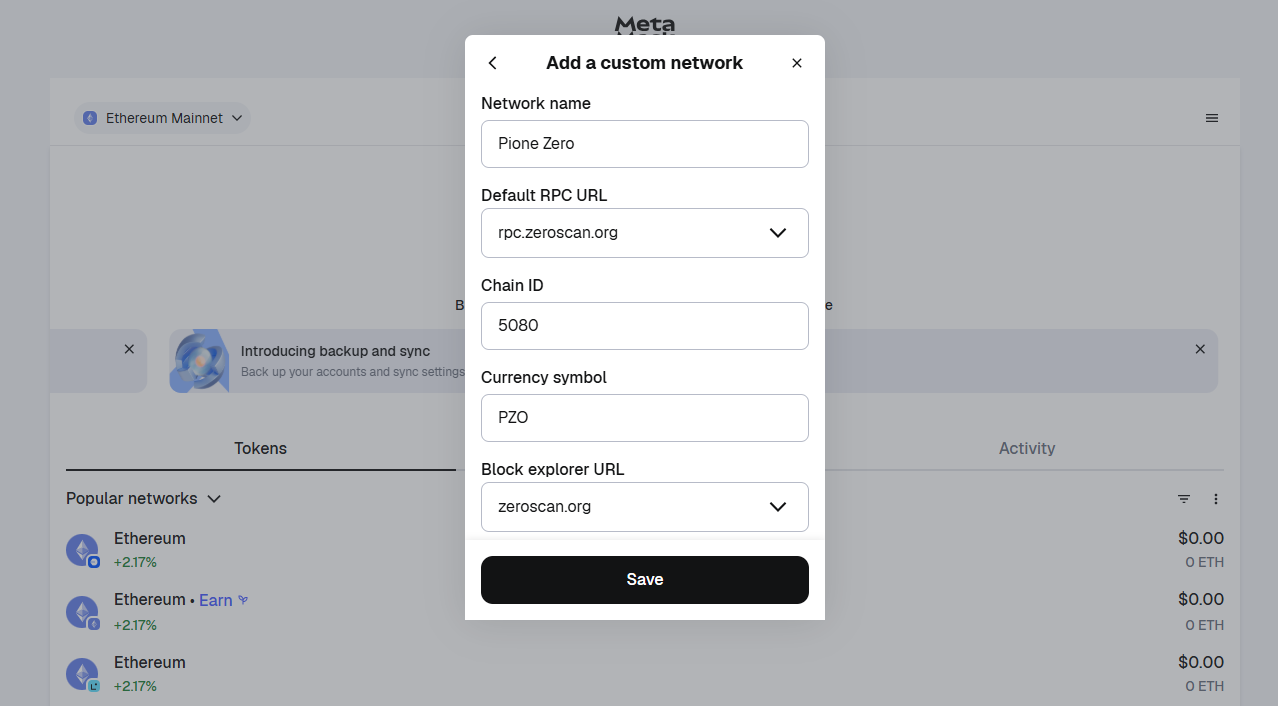 Provide PIONE Network Name, RPC URL, Chain ID, and optionally Symbol and Block Explorer of PIONE parameter. Click "Save" or "Add" to finish
 You can now see the PIONE network listed among the available networks in your MetaMask account.